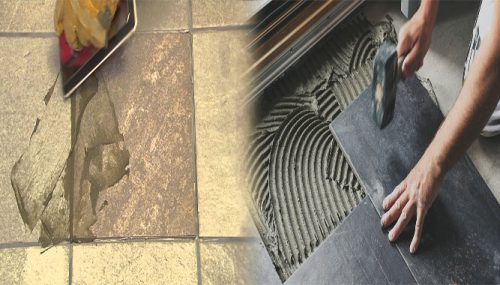
Broken tiles can be an eyesore and pose safety hazards in your kitchen or bathroom. Whether the damage is due to impact, wear and tear, or shifting foundations, it’s essential to address the issue promptly to prevent further damage and to maintain the aesthetics of your space. Here’s a guide on how to effectively repair broken tiles in your kitchen or bathroom:
Assess the Damage
- Identify the damaged tiles: Inspect the area to identify the broken or chipped tiles that need to be repaired or replaced.
- Check for underlying issues: Look for any underlying issues that may have caused the damage, such as moisture, structural problems, or improper installation.
Gather the Necessary Materials
- Replacement tiles: Purchase replacement tiles that match the size, color, and texture of the existing ones.
- Tile adhesive: Acquire tile adhesive or mortar for securing the new tiles in place.
- Grout: Ensure you have grout that matches the color of the existing grout lines.
- Tools: Gather tools such as a tile cutter, grout saw, putty knife, and sponge for the repair process.
Removal of the Damaged Tiles
- Safety precautions: Wear protective gear, such as gloves and safety goggles, before proceeding.
- Loosen the grout: Use a grout saw to carefully remove the grout surrounding the damaged tile.
- Pop out the tile: Gently pry out the broken tile using a putty knife or chisel, being careful not to damage any surrounding tiles.
Installation of Replacement Tiles
- Prepare the area: Ensure the space is clean and free of debris before proceeding.
- Apply adhesive: Spread tile adhesive on the back of the replacement tile and press it firmly into place.
- Grouting: Once the adhesive has set, apply grout to fill the gaps between the tiles, using a rubber float to spread it evenly.
- Clean excess grout: Wipe off excess grout from the surface of the tiles using a damp sponge.
Finishing Touches
- Allow for curing: Let the adhesive and grout cure according to the manufacturer’s instructions before exposing the repaired area to moisture.
- Seal the grout: Consider applying a grout sealer to protect the grout lines from moisture and staining.
Addressing Larger Repairs
For extensive damage or if you’re uncomfortable with DIY repairs, consider consulting a professional tile installer to assess and address the issue. They can provide expert guidance and ensure the repair is carried out effectively.
By following these steps and tips on how to repair broken tiles in your kitchen or bathroom, you can restore the integrity and visual appeal of your tiled surfaces. Prompt and proper tile repair can help maintain the beauty and functionality of your kitchen and bathroom, ensuring they remain inviting and safe spaces for years to come.

