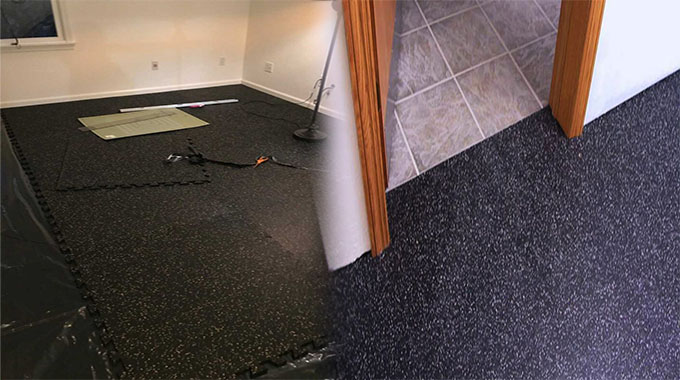
Rubber flooring tiles are a popular choice for various spaces due to their durability, versatility, and ease of installation. Whether you’re looking to upgrade your home gym, office, or play area, installing rubber flooring tiles can be a rewarding and cost-effective DIY project. Here’s a comprehensive guide on how to install rubber flooring tiles with ease:
Step 1: Gather the Necessary Tools and Materials
Before beginning the installation process, ensure that you have the following tools and materials on hand:
- Rubber flooring tiles
- Tape measure
- Utility knife
- Straight edge
- Chalk line
- Double-sided carpet tape (if necessary)
- Rubber flooring adhesive (if necessary)
- Rubber mallet
- Broom or vacuum
- Damp cloth
Step 2: Prepare the Subfloor
Start by preparing the subfloor where the rubber flooring tiles will be installed. Ensure that the subfloor is clean, dry, and free of any debris or imperfections. If necessary, repair any cracks or uneven areas to create …
View More How to Install Rubber Flooring Tiles: A DIY Guide
