Leaky faucets and clogged drains are two of the most common household plumbing problems, and while they may seem daunting, many of them can be fixed with basic tools and a little know-how. Tackling these DIY repairs can save you money on a plumber and give you a sense of accomplishment.
Part 1: How to Fix a Leaky Faucet
A dripping faucet is not only annoying but also wasteful, potentially adding hundreds of gallons of water and significant costs to your water bill each year. The good news is that most leaks are caused by a worn-out washer or O-ring, which are simple and inexpensive to replace.
Tools You’ll Need:
- Adjustable wrench
- Screwdriver (flathead and Phillips)
- Replacement parts kit for your faucet type (washers, O-rings, etc.)
- Plumber’s grease
- Small bucket or bowl
- Rag
Steps to Fix the Leak:
- Turn Off the Water: The first and most critical step is to shut off the water supply to the faucet. Look for the two valves—one for hot water and one for cold—underneath the sink. Turn them clockwise until they are snug. If you can’t find them, you may have to turn off the main water supply to your house.
- Disassemble the Faucet:
- Cover the Drain: Place a rag over the drain to prevent small parts from falling in.
- Remove the Handle: Use a screwdriver to pry off the decorative cap on top of the handle. Unscrew the screw underneath to remove the handle.
- Expose the Cartridge/Stem: Depending on your faucet type, you’ll need to unscrew or unclip the parts that secure the cartridge or stem. This is where your adjustable wrench comes in.
- Replace the Worn-Out Part:
- Identify the Culprit: Once you have the stem or cartridge out, you’ll see a small rubber washer or an O-ring at the base. This is the most likely cause of the leak.
- Match the Part: Take the old part to a hardware store to find an exact match. It’s a good idea to buy a full faucet repair kit to have other sizes on hand.
- Reassemble: Before putting the new washer on, apply a thin layer of plumber’s grease to the O-rings or moving parts. This helps them last longer and operate smoothly. Carefully reassemble the faucet in the reverse order of how you took it apart.
- Test the Faucet: Turn the water supply back on slowly and check for any leaks. If the drip is gone, you’ve successfully fixed it!
Part 2: How to Clear a Clogged Drain
A slow-draining or completely clogged sink is a major inconvenience. Before you reach for harsh chemical drain cleaners, try these simple, safer, and more effective DIY methods.
Tools/Materials You’ll Need:
- Plunger (a cup plunger for sinks)
- Baking soda and white vinegar
- Boiling water
- Pliers or drain snake (optional)
Steps to Unclog the Drain:
- The Plunger Method:
- Seal the Overflow: If you’re working on a bathroom sink, use a wet rag to seal the overflow hole to create a better vacuum.
- Create a Seal: Fill the sink with an inch or two of water. Place the plunger over the drain, ensuring it creates a tight seal.
- Plunge: Give the plunger about 10-15 forceful up-and-down thrusts without breaking the seal. On the last thrust, pull the plunger up quickly to create a vacuum. This can often dislodge the clog.
- The Baking Soda and Vinegar Method:
- Dry the Drain: First, remove any standing water from the sink.
- Pour in Baking Soda: Pour about ½ cup of baking soda directly down the drain.
- Add Vinegar: Immediately follow with ½ cup of white vinegar. You’ll see the mixture bubble and fizz, which is a natural chemical reaction that helps break down the clog.
- Wait: Let the mixture sit for about 15-30 minutes.
- Rinse: Pour a kettle of boiling water down the drain to flush out the debris.
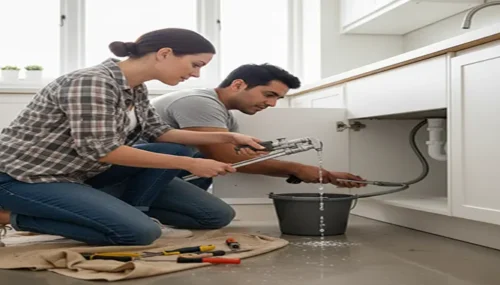
- Manual Removal (P-Trap): If the clog persists, the blockage is likely in the P-trap (the curved pipe under the sink).
- Place a Bucket: Put a small bucket directly under the P-trap to catch any water or debris.
- Loosen the Connections: Use pliers to loosen the slip nuts on both ends of the P-trap.
- Remove and Clean: Pull the P-trap free and use a pipe cleaner or wire to remove the clog.
- Reassemble: Reconnect the P-trap, making sure the nuts are tight, and run water to check for leaks.
By following these simple steps, you can save time and money, and gain the confidence to handle future minor plumbing issues.