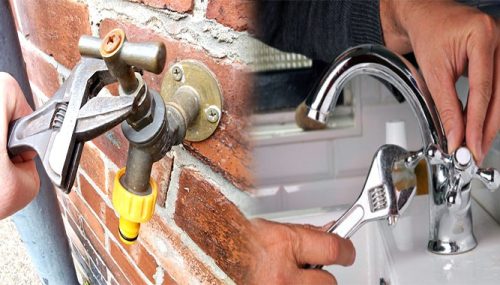
A leaking faucet is not only annoying but can also waste a significant amount of water if left unattended. While many homeowners may immediately think to call a plumber to fix the issue, repairing a leaking faucet can often be a simple DIY task that doesn’t require professional help. By following some basic steps and with a few tools, you can easily fix a leaking faucet yourself. Here’s a guide on how to repair a leaking faucet without calling a plumber:
1. Identify the Type of Faucet
Before you start the repair process, it’s crucial to identify the type of faucet you have, as different types of faucets may require different repair techniques. The most common types of faucets are compression, ball, cartridge, and ceramic disk faucets. Each type has its own set of components that may need to be replaced to fix the leak.
2. Turn Off Water Supply
Before you begin working on the faucet, make sure to turn off the water supply to the affected faucet. Locate the shut-off valves under the sink or near the water meter and turn them clockwise to shut off the water flow. This will prevent any water from leaking while you’re working on the repair.
3. Disassemble the Faucet
Using the appropriate tools, carefully disassemble the faucet to access the internal components. This may involve removing the handle, decorative cap, escutcheon plate, and other parts. Be sure to keep all the components organized so you can easily reassemble the faucet later.
4. Check for Damage
Inspect the internal components of the faucet for any signs of damage or wear that may be causing the leak. Common causes of faucet leaks include worn-out washers, O-rings, or seals. Replace any damaged components with new ones that are compatible with your faucet type.
5. Clean and Reassemble
Once you’ve replaced any damaged parts, clean the internal components of the faucet to remove any mineral deposits or debris that may be affecting its performance. Reassemble the faucet in the reverse order of disassembly, making sure all parts are securely fastened.
6. Test the Faucet
After reassembling the faucet, turn the water supply back on and test the faucet to see if the leak has been fixed. If the faucet is still leaking, double-check the components for proper installation and make any necessary adjustments.
7. Consider Professional Help
If you’ve followed these steps and the faucet is still leaking, or if you’re uncomfortable with the repair process, it may be time to call a plumber for assistance. A professional plumber can accurately diagnose the issue and provide the necessary repairs to fix the leak.
By following these steps, you can repair a leaking faucet without the need to call a plumber, saving both time and money. Taking the initiative to fix a leaking faucet yourself not only helps you develop basic plumbing skills but also contributes to water conservation efforts. Remember to conduct regular maintenance on your faucets to prevent future leaks and ensure their optimal performance.

