Invisible electric fences have become a popular choice for pet owners looking to provide their furry companions with freedom while ensuring their safety. These systems use a buried wire and a receiver collar to create an invisible boundary that delivers a mild electric stimulation if the pet attempts to cross it. For those considering installing an invisible electric fence, here is a comprehensive guide to help you through the installation process.
Step-by-Step Installation Guide
1. Plan Your Boundary:
- Determine the area you want to enclose and sketch out a map of the boundary lines.
- Consider factors like obstacles, landscaping features, and the distance from the house where the transmitter will be located.
2. Select the Right Tools and Materials:
- You will need a transmitter, receiver collar, boundary wire, training flags, wire connectors, and a spool for burying the wire.
- Make sure to choose a high-quality system suitable for your pet’s size and temperament.
3. Install the Transmitter:
- Choose a dry, well-ventilated location near a power outlet to install the transmitter.
- Follow the manufacturer’s instructions for mounting the transmitter and connecting it to a power source.
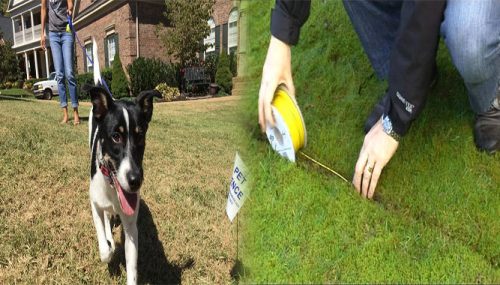
4. Bury the Boundary Wire:
- Use a trencher or an edger to bury the boundary wire according to your planned boundary lines.
- The wire should be buried at a depth of 1-3 inches to protect it from damage.
5. Connect the Wire to the Transmitter:
- Connect the boundary wire to the transmitter following the instructions provided.
- Test the continuity of the wire using a wire tester to ensure a complete loop.
6. Place Training Flags:
- Place training flags along the boundary line to visually mark the perimeter for your pet.
- These flags will help your pet understand the boundaries during training.
7. Fit the Receiver Collar:
- Fit the receiver collar on your pet and adjust it to ensure a snug and comfortable fit.
- Test the collar to ensure it is functioning correctly and delivering the desired stimulation.
8. Begin Training:
- Introduce your pet to the invisible electric fence gradually, using positive reinforcement and rewards for staying within the boundaries.
- Monitor your pet’s reactions and adjust the training as needed to ensure they understand the boundaries.
9. Regular Maintenance:
- Inspect the system regularly for any damage or exposed wires.
- Replace the batteries in the receiver collar as needed and check the system’s functionality periodically.
Tips for Successful Installation
- Follow Manufacturer Instructions: Always follow the manufacturer’s guidelines for installation and operation to ensure the system works effectively and safely.
- Proper Training: Consistent and positive training is key to helping your pet understand and respect the boundaries of the invisible electric fence.
- Seek Professional Help: If you are unsure about any aspect of the installation process, consider consulting a professional to ensure the system is installed correctly.
Installing an invisible electric fence can provide your pet with the freedom to roam safely within set boundaries. By following this comprehensive installation guide and considering the tips provided, you can create a secure and effective containment system for your beloved companion.